

For a full guide on editing please see this page.
How to Edit Fextralife Wikis
Have information to contribute, but don't know how to add it? This page will help guide you on how to edit pages on all Fextralife Wikis. Simply follow the steps below to edit pages using our new visual editor that we designed especially to make it as easy as possible. Although users can edit wikis as Guests, registering takes just a few seconds and makes it easy to follow your pages. Click here to register.
We hope this page will help you get started on becoming a greater part of our community. We are also always looking forward to feedback/suggestions that help make this process better for our users. Please see the Dark Souls 3 Feedback Forums page for more information.
Some tips for editing
- If you find bad information, do not "strike through". Simply delete it and replace with proper information
- All information should be added in third person, the wiki's "voice" should be neutral, not "I".
Instead of "I recommend" use "It is recommended".
Instead of "I found that" use "Testing shows that". - Respect formatting relative to other pages. The wikis have templates that have been made to make editing easy.
Editing Guide
Quick List:
- Editing a Page
- Adding / Changing Images
- Adding Links
- Inserting Tables
- Button Layout
- Adding a Tag cloud
- Tagging a page (so it shows up in tag clouds)
Editing a Page
- Hit the
 button on the top-right corner of the screen. This will bring you to the visual editor.
 - Add text, tables,images etc. to the page as needed.
- Preview your changes by hitting the
 button.
 - If you are not happy, hit
 to return to the editor.
OR
If you are satisfied with what you see, hit button.
 - Congrats you have made your first edit!
Adding/Changing Images
Adding Images:
- Hit the button on the top-right corner of the screen. This will bring you to the visual editor.
- Move your cursor to where you want to insert the image.
- Hit the
 button to bring up the "insert/edit image" pop-up.
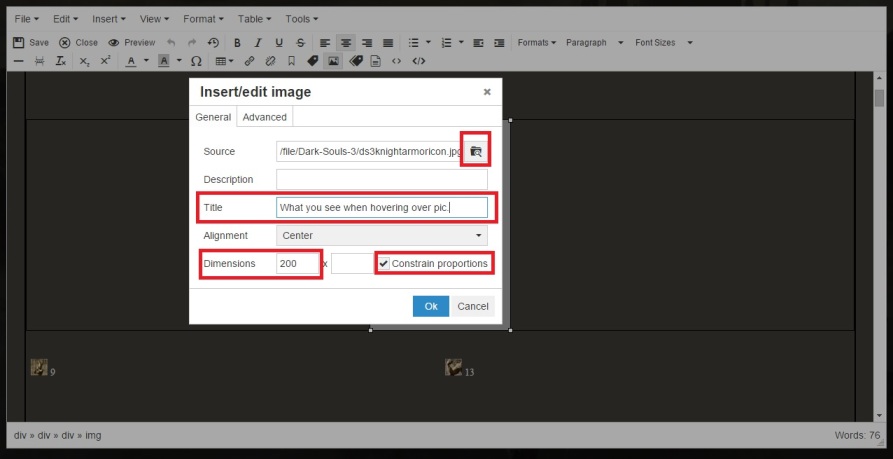
- Click on the
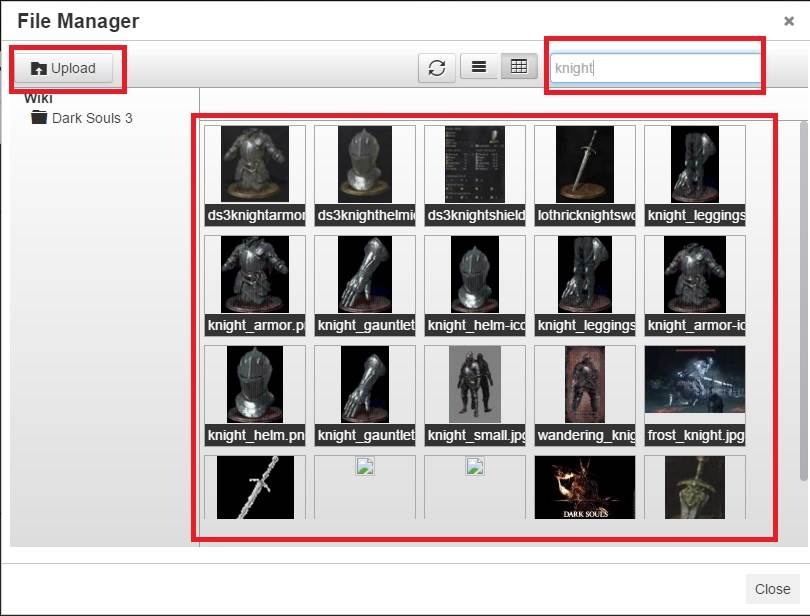
 to open the File Manager. On this screen you can choose an existing image or upload your own.
 - Once you have found the image you need or have uploaded your own, simply click on that image to return to the pop-up.
- (Optional) Enter a TITLE for your image and enter a resolution. You only need to enter a value in the first box.
NOTE: Avoid going beyond 300(pixels) unless absolutely necessary. Make sure the "Constrain proportions" box IS checked. - Hit OK once you are done. You should find your image inserted where you had the cursor.
Changing Images
- Hit the button on the top-right corner of the screen. This will bring you to the visual editor.
- Then "right-click" on the image you wish to change and select INSERT/EDIT IMAGE.
- Follow steps 4 - 10 above as necessary
Adding / Removing Links
- Hit the button on the top-right corner of the screen. This will bring you to the visual editor.
- Highlight the text to which you wish to add a link.
- Select the
 button. This will bring up the "Insert/edit link" pop-up.
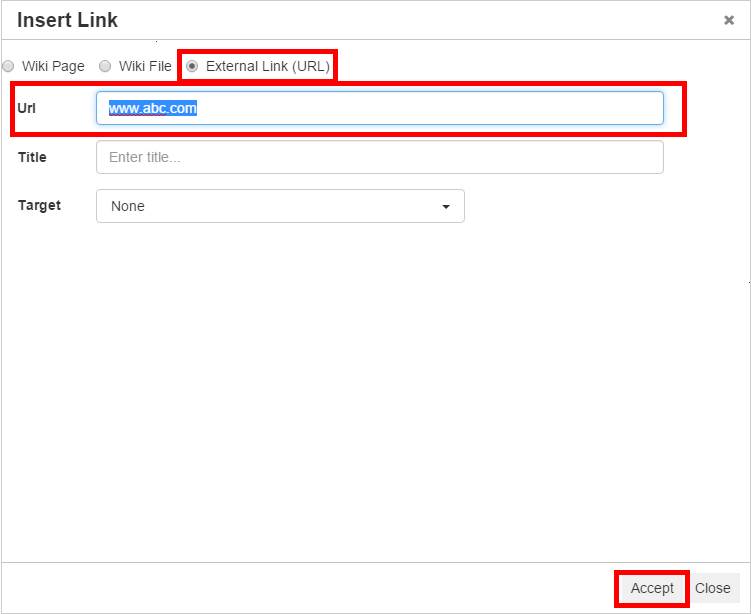
- External Links: Enter the URL of the required link and hit ACCEPT. Proceed to step 9.
OR
Wiki Links: Select WIKI PAGE.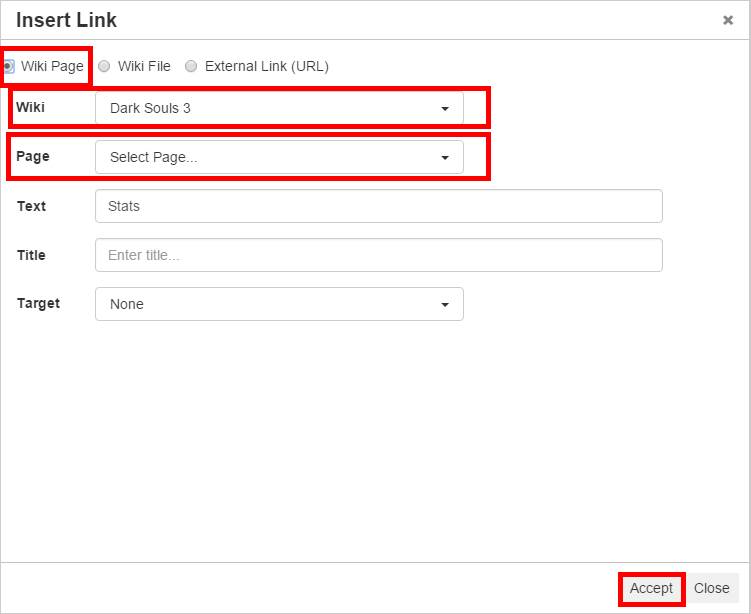
- Choose the wiki from the drop-down list if it is not already selected.
- Choose the PAGE you wish to link to. You can type here to search for an existing page or make a new one.
- Leave TITLE blank. Choose "none" for a TARGET.
- Hit ACCEPT when you are done.
- You will see your text underlined, indicating it is now linked.
Inserting Tables
- Hit the button on the top-right corner of the screen. This will bring you to the visual editor.
- Move the cursor to where you want to insert you want to insert the table.
- Hit the
 button and select INSERT TABLE.
 - Choose the number of rows and columns you need. Simply left-click to confirm your selection.
Button Layout
See the number on the image and the corresponding explanation below.
- : Save the changes made to the page.
 : Leave the editor WITHOUT saving any changes made.
- : Preview the changes made to the page. If you are not satisfied with your changes, you can return to the editor by hitting.
Adding a Tag Cloud
- Click the "Insert Tag Cloud" button on the editor

- Click the big square that appears, then the small "Edit Page Tags" button and type the tag you want. An automated list will show up of existing tags that match your search. Hit enter and save

- All done! now whatever pages are tagged like that will show here.
Tagging a page (so it shows up in tag clouds)
- You must be logged in
- Go to the ... menu on the page you want to tag, and select tags

- Type the tag you want. An automated list will show up of existing tags that match your search. Hit enter and it's saved.